Flour absorbs differently
Brand and humidity both change how much milk a cup of flour will take. If the batter looks tighter or looser than described, thin or thicken a tablespoon at a time and note it for the next batch.

Test Kitchen Notes
A record of how the diner-style batter recipe was tested, which variables were changed one at a time, and what stayed the same in every batch.
The baseline
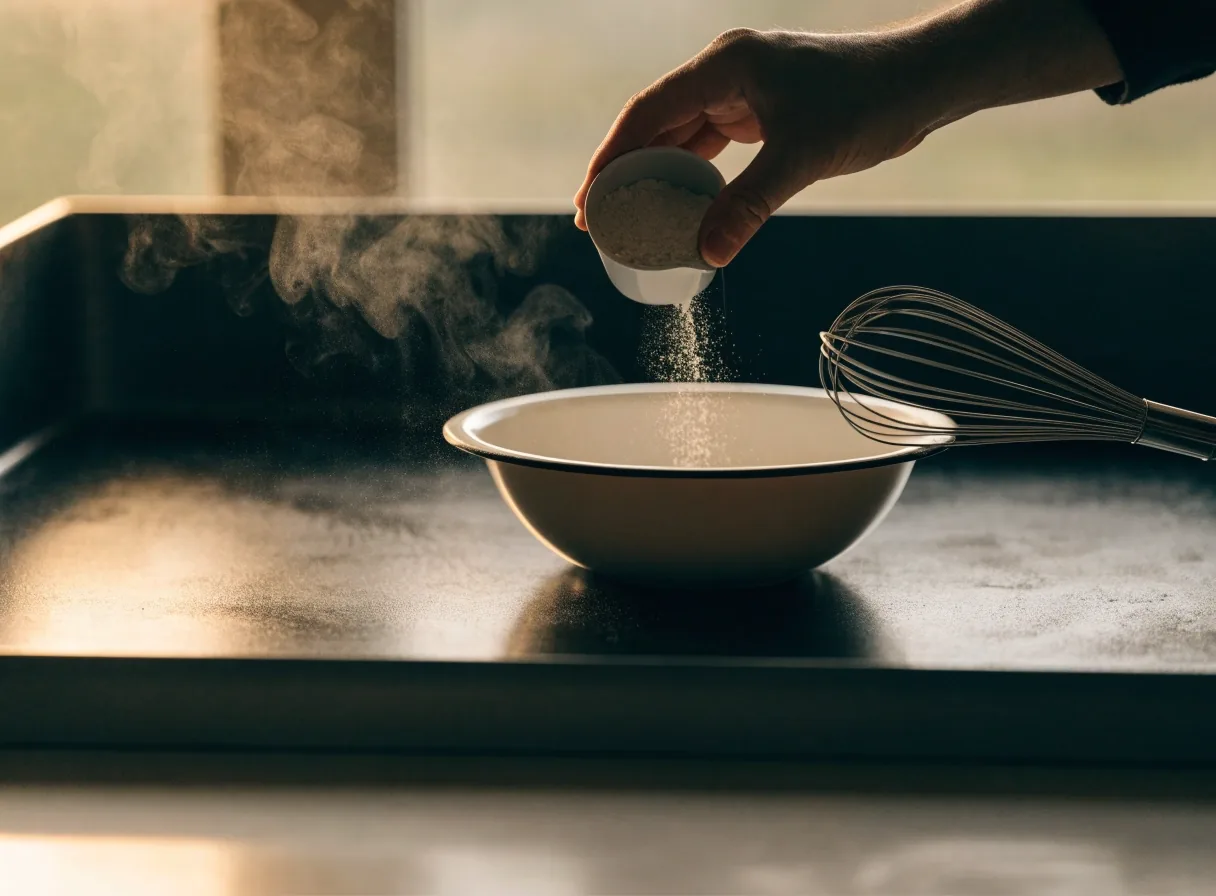
Every test batch used the same two-cup baseline: two cups all-purpose flour, two tablespoons sugar, one tablespoon baking powder, half a teaspoon salt, two eggs, one and three-quarter cups milk, and six tablespoons melted butter. The same iron was used at the same dial setting, preheated identically. Only one variable changed per batch.
That constraint is the reason these notes are useful. Changing the sugar and the iron temperature in the same batch tells you nothing about either one. If you are working toward a homemade version of a diner-style waffle, the two-cup baseline is the floor you build every test on.
If you want the finished method for the whole batter, the Classic Batter page carries the working version. What follows here is only the testing record behind it.
Batch by batch
Each row below is one thing that changed against the baseline, the result, and what to take from it. Open a row to read the note.
The eggs were whisked two ways: beaten until fluffy and pale, and whisked only until the yolks broke. The fluffy version produced a slightly lighter interior. The difference was smaller than expected and did not show up at all in batches where the batter rested for twenty minutes.
This lines up with what others have reported after testing with and without separated eggs. If the rest of the method is sound, the egg treatment is a minor lever — worth trying once, not worth rebuilding the recipe around.
Zero minutes, ten minutes, thirty minutes, and overnight. Ten minutes made a texture difference worth having. Thirty was marginally better. Overnight produced a more developed flavor and slightly less lift, which the half-teaspoon of added baking powder largely corrected.
The overnight batch was the one most people preferred in a side-by-side, mostly for the deeper flavor rather than the texture. If your schedule only allows for a short rest, ten minutes is the practical floor.
Milk, buttermilk, yogurt, and sour cream were each swapped in at half the milk volume, with a quarter teaspoon of baking soda added. All three acidic versions browned faster and had a tangier flavor. Yogurt produced the thickest batter and needed the most thinning.
The baking soda addition is not optional with acidic dairy. Without it, the extra acid has nothing to react with, and the lift suffers. This is the one swap where the technique carries more weight than the ingredient choice.
Butter and neutral oil, both at six tablespoons. Butter browned slightly faster and tasted better. Oil gave a marginally more even crust and was more forgiving if the iron ran hot.
At four tablespoons, the crust was noticeably harder and drier. At eight, the crust softened faster after coming off the iron. Six is the working number.
Low produced pale waffles that never crisped. High produced a dark shell within a minute, with a center that was still setting. Medium-high, with a longer preheat than the indicator light suggests, gave the best result.
This is the single variable with the biggest effect on the outcome, and it is the one most people skip. The Crispy Technique page goes deeper into the preheat timing if you want to see why.
The hold
Finished waffles were held three ways: on a plate, stacked in a 200-degree oven, and single-layer on a rack in a 200-degree oven. The plate went soft in under a minute. The stack went soft in about five. The single-layer rack held crispness for roughly twenty minutes.
That result is why the Crispy Technique page tells you to use a rack. It is not a preference. It is the difference between two outcomes — a waffle that is still standing when it reaches the table and one that has already given up.
If you are making a batch for family or for a morning where waffles come off the iron one after another, the rack is the only thing to change. Everything else in the technique stays where it is.
The numbered reveals
A read on how much each lever mattered, ordered from the biggest effect to the smallest.
Against your kitchen
Nothing on this page is a claim about what will happen in your kitchen. It is a record of what was tried, and it works best as a starting point rather than a set of rules.
Brand and humidity both change how much milk a cup of flour will take. If the batter looks tighter or looser than described, thin or thicken a tablespoon at a time and note it for the next batch.
The dial is a suggestion, not a thermometer. The preheat cue light tells you the iron has stopped drawing power, not that the plates themselves are hot enough. Give it another few minutes past the light.
A cooler kitchen slows the rest and softens the brown. A warmer one speeds both up. If your results land somewhere different from what is written here, that is expected, and it is worth writing down.

Where this leaves you
Treat the baseline as a starting point and the variables as levers. Change one, note what happened, and move on. If your results diverge from what is described here, that is expected — the Troubleshooting page has a fix for each of the common deviations, sorted by what the waffle looks like rather than by what went into the bowl.
The bigger point is that a batter is a record of choices. The diner-style method in these notes is not a locked formula; it is a set of moves that were tested and shown to matter, most of them only a little, one of them a lot. The one that matters most is the iron. Everything else is tuneable around it.
Make the batter tonight. Rest it. Heat the iron past the light. Cook one, hold it on a rack, and see where your kitchen pushes back.
What is on this page