Batter thickness
Pourable, never standing
A batter that pours in a ribbon sets into a lighter waffle with a crisper edge. If it mounds on the spoon, thin it with milk a tablespoon at a time; if it runs like cream, dust in flour the same way.
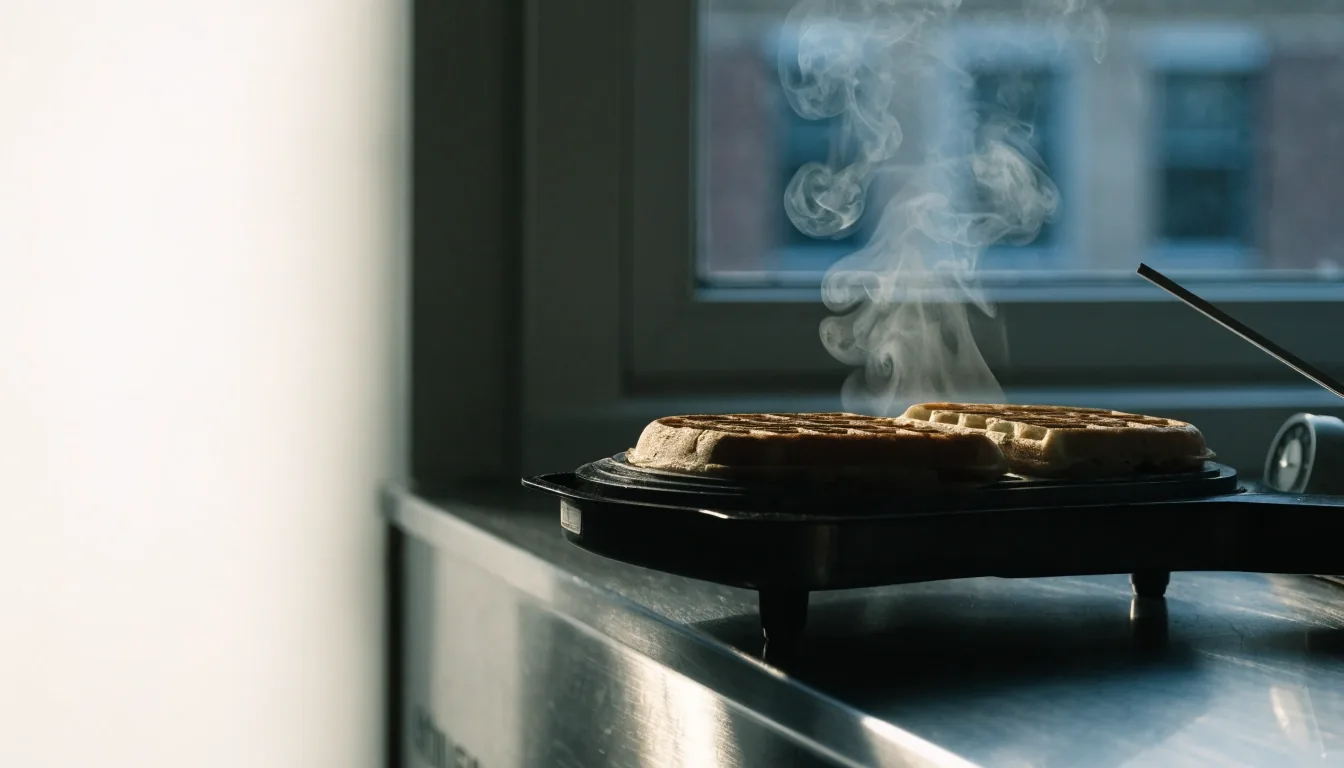
A diner-style waffle batter built on one ratio — flour, leavening, fa, dairy, egg — mixed in the right order and cooked hot enough to set the crust before the middle dries out.
The technique ledger
The baseline here is 2 cups all-purpose flour, 2 tablespoons sugar, 1 tablespoon baking powder, 1/2 teaspoon salt, 2 eggs, 1 3/4 cups milk, and 6 tablespoons melted butter or neutral oil. That ratio produces a pourable batter that coats a spoon but still runs off it in a ribbon. If your batter stands up in a mound, add milk a tablespoon at a time. If it pours like cream, add flour the same way.
Two things about this ratio matter more than the exact numbers. First, the fa is melted and cooled slightly before it meets the eggs, so it emulsifies instead of seizing. Second, the leavening is baking powder alone in the baseline version. Buttermilk or yogurt versions swap part of the milk and add baking soda alongside the powder, which is covered on the Classic Batter page.
What each ingredient is doing
Flour, sugar, leavening, salt, egg — the part each one plays
Mixing order — and when to stop
Wet into dry, fifteen to twenty strokes, small lumps are fine
Rest the batter ten minutes
Hydration and leavening — the difference between good and crust-holding
Heat is half the recipe
Full preheat cycle, then two or three minutes more — steam pushes the batter up
Read the steam, then wait thirty seconds
Opening early tears the waffle — the sign is the trickle, not the timer
The egg question
The egg is the ingredient people misuse most. Beaten until fluffy, it adds air and a lighter interior; whisked just until the yolk breaks, it gives a denser, more custardy waffle. Both work. The Sunset Foods recipe rack version beats the egg until fluffy before combining, while most no-frills family recipes whisk and move on. Pick one and stay consistent so you can actually compare batches.
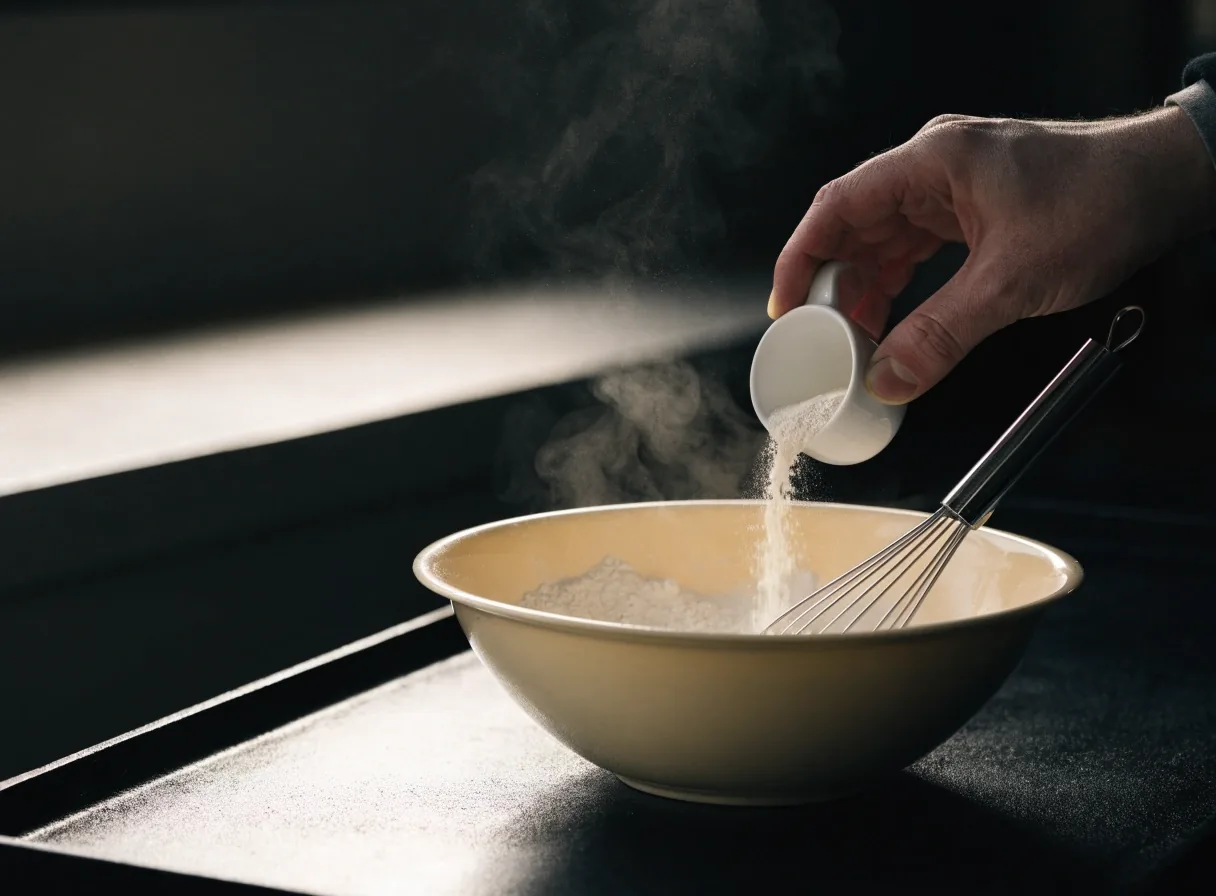
Whisk the dry ingredients in a large bowl. Whisk the eggs, milk, and melted fa in a second bowl. Pour the wet into the dry and stir with a spatula or a fork until the flour just disappears. Small lumps are fine, they cook out. Overmixing develops gluten, and developed gluten makes a chewy, tough waffle that steams instead of crisping.
Variables you can change on purpose
A waffle mix is three decisions at once: how thin the batter runs, how hot the plates sit, and how long the finished waffle rests before it goes on a plate. Change one at a time and you can taste the difference in the next batch.
Batter thickness
A batter that pours in a ribbon sets into a lighter waffle with a crisper edge. If it mounds on the spoon, thin it with milk a tablespoon at a time; if it runs like cream, dust in flour the same way.
Iron temperature
A properly heated iron makes steam the second batter touches it, and that steam is what pushes the batter up into the grid. Plates that sit somewhere around 375 to 400 degrees Fahrenheit are where the batter sets best.
Rest on the plate
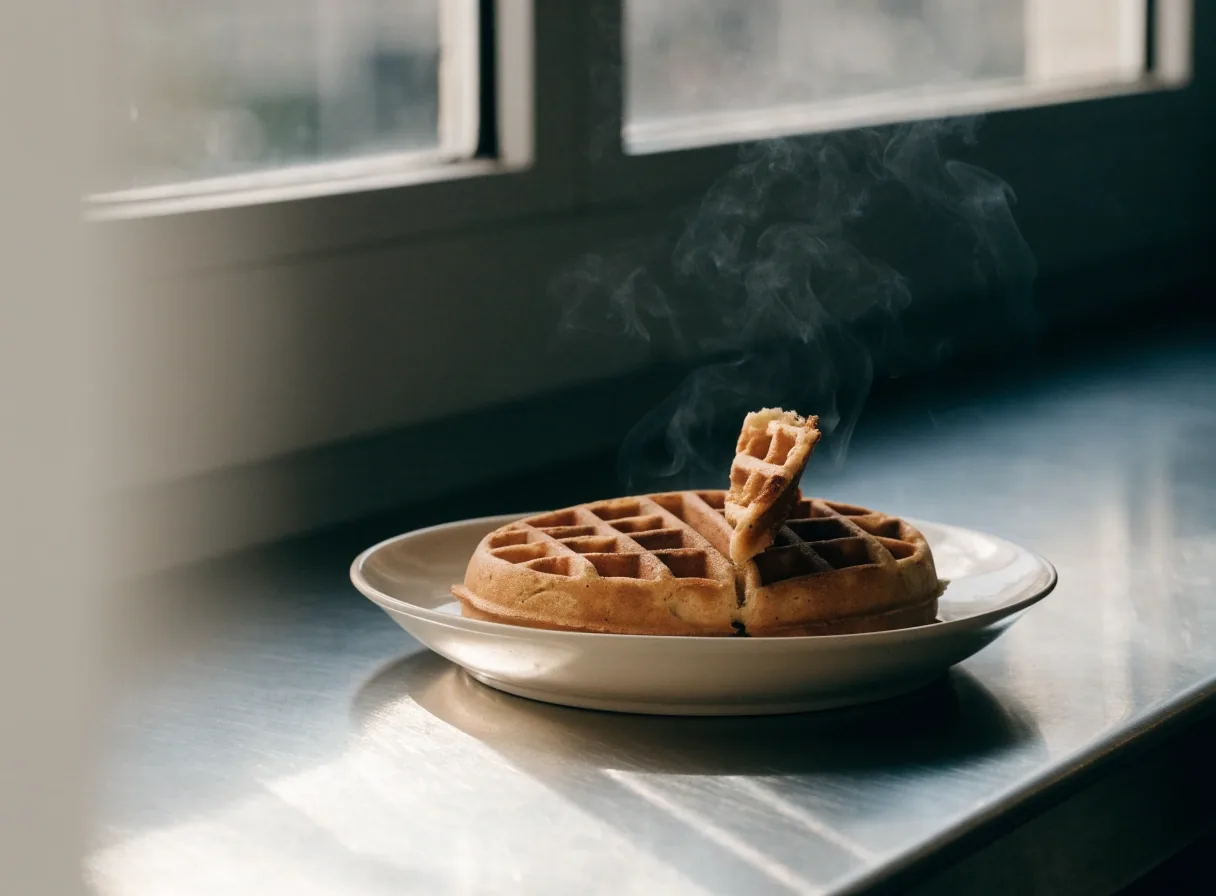
A waffle set directly on a plate traps steam underneath and softens within a minute. A wire rack lets the bottom stay dry while the crust finishes setting.
Rest and refrigeration
A short rest lets the flour hydrate and the leavening start working. Ten minutes on the counter changes the texture noticeably; twenty is better. The batter thickens as it sits, so give it one gentle stir before the first ladle goes in, and expect to thin it with a splash of milk if it rested longer than half an hour.
You do not have to rest it. A waffle made from unrested batter is still good. The rest is the difference between good and the kind of waffle that holds a crust for more than a minute on the plate. Overnight, the same batter covers and refrigerates — and cooled waffles stack flat in the freezer without going soggy on reheat.
Plan a Make-Ahead batch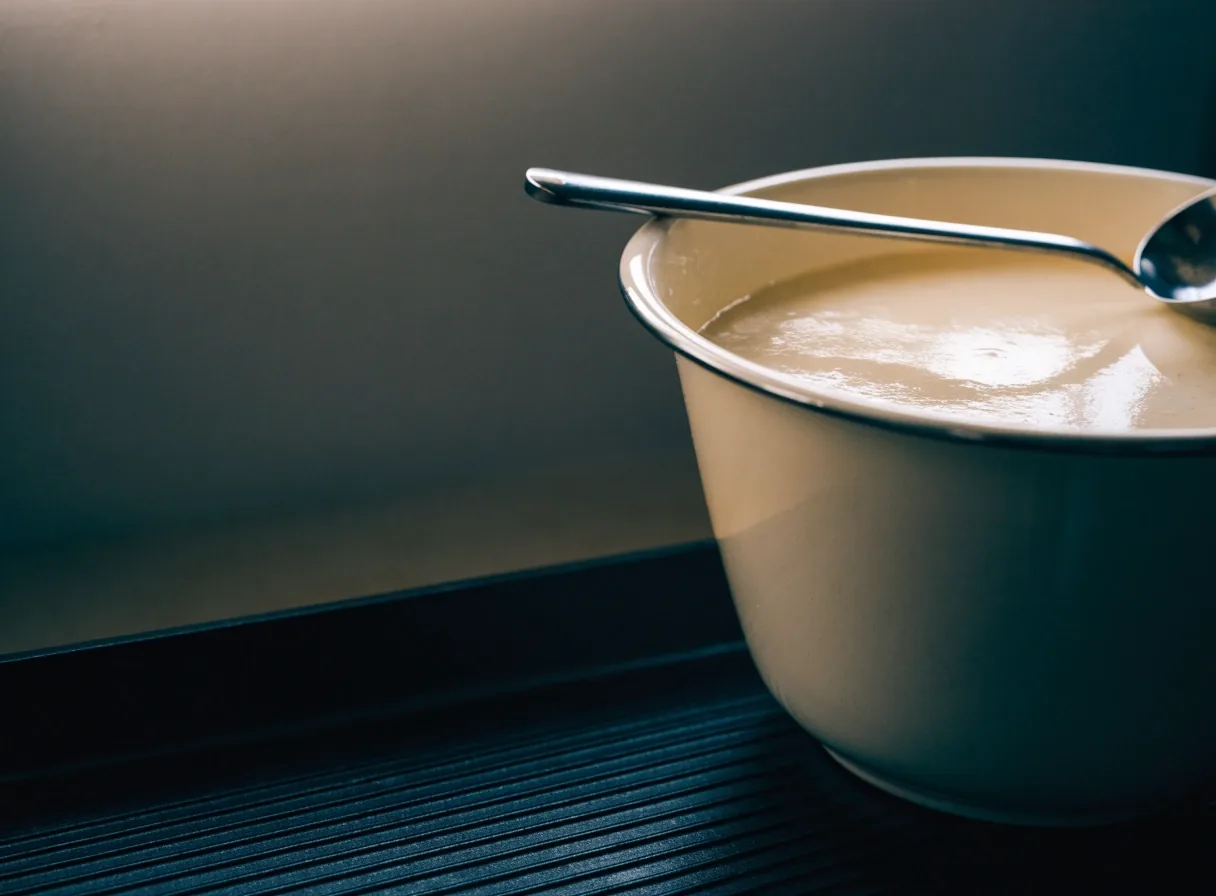
The baseline slip
Keep the first batch to this and change one variable at a time after that. The left column is the measure; the right is what each one is doing once the batter hits the iron.
2 cups all-purpose flour
Builds the structure.
2 tablespoons sugar
Browns the surface and holds moisture in the crumb, which is why a waffle with a little sugar in the batter takes color faster than one without.
1 tablespoon baking powder
Releases gas twice — once when it hits the wet ingredients and again in the heat of the iron.
1/2 teaspoon salt
Keeps the whole thing from tasting flat.
2 eggs
Beaten fluffy for a lighter interior, whisked just until the yolk breaks for a denser, more custardy one.
1 3/4 cups milk
Sets the pour. Part of this gets swapped for buttermilk or yogurt on the Classic Batter page, with baking soda joining the powder.
6 tablespoons melted butter or neutral oil
Cooled slightly before it meets the eggs, so it emulsifies instead of seizing.
Which page to open next
The baseline is the same on every page here. What changes is what you do with it — chase crunch, work ahead of time, or fix whatever went sideways on the first attempt.
For crunch
Crispy Technique
Batter rest, iron temperature, and why a finished waffle should sit on a rack instead of a plate for the first minute.
Go to Crispy TechniqueFor prep
Make-Ahead Batter
Overnight refrigeration and freezing finished waffles without turning them soggy on reheat.
Plan a Make-Ahead batchWhen it goes wrong
Troubleshooting
Thin batter, pale waffles, sticking, gummy centers and flat results — a cause and a fix for each.
Fix a problem in TroubleshootingFor the finish
Toppings and Syrups
For when the waffle itself is right and you want to finish it well — warm syrups, butter, fruit and simple sauces.
Toppings and SyrupsHow it was tested
Test Kitchen Notes
How the recipe was revised and how to read those revisions against your own kitchen.
See how the recipe was testedOn the copycat question
People search for a specific diner-style waffle because they remember a texture: shatteringly crisp outside, light and airy inside, slightly sweet, no strong flavor of its own so the syrup does the talking. That texture comes from a hot iron, a thin-enough batter, and a short mixing time.
The recipes in this resource are home recipes built to land on that texture with pantry staples. Nothing here is a reproduction of a chain's proprietary formula, and no restaurant's recipe has been copied. What is here is the ratio and the technique, tested in a home kitchen.
Equipment that actually matters
None of this is specialist. The order below is roughly the order that changes what comes off the iron.
A home iron
Round or square, both work
A standard round or square home iron works. A Belgian-style iron with deeper pockets makes a thicker waffle and needs slightly more time — sometimes a full minute more per waffle.
A thermometer
Optional, but useful
A digital instant-read thermometer is optional but useful if your iron runs hot or cold, since batter sets best when the plates sit somewhere around 375 to 400 degrees Fahrenheit.
A wire rack
More than people expect
A wire cooling rack matters more than people expect. A waffle set directly on a plate traps steam underneath and softens within a minute. A rack lets the bottom stay dry while the crust finishes setting.
Making a batch for a crowd
Waffles are best served within a few minutes of coming off the iron, which is inconvenient when six people are eating. Two workable approaches: hold finished waffles on a rack in a 200-degree oven, single layer, no stacking, for up to twenty minutes; or cook them slightly under and finish each one directly in the hot iron just before it goes to the table.
Stacking in the oven is what makes a crisp waffle go limp. A single layer on a rack keeps the bottom aired, and the crust keeps setting while you finish the next one.
Holding a batch
Hold in the oven
Rack, 200 degrees, single layer, up to twenty minutes.
Cook slightly under
Finish each one in the hot iron just before it goes to the table.
Common questions
Heat the iron fully before the batter goes in, keep the batter thin enough to pour in a ribbon, mix only until the flour disappears, and let the finished waffle rest on a wire rack for a minute rather than on a plate. A short batter rest of ten to twenty minutes helps too.
It should coat the back of a spoon but still run off it. If it mounds, thin it with milk a tablespoon at a time. If it pours like heavy cream, add flour the same way.
It does not have to. Ten to twenty minutes on the counter improves hydration and texture, and the batter thickens while it rests, so stir it gently and thin if needed.
Belgian-style irons have deeper pockets, so the waffle is thicker and needs more time in the iron. The batter is roughly the same; the grid is what changes.
Yes. Cool them completely on a rack, freeze flat, then reheat in a toaster or a hot oven rather than a microwave. The Make-Ahead Batter page covers the full method.
Those are acidic dairy additions. They add tang, body, and a little extra browning. When you use one, part of the milk gets replaced and baking soda joins the baking powder so the acid has something to react with.
Where this resource stops
This site is a technique and recipe resource for home cooking. It is not affiliated with any restaurant chain, it does not sell food, and it does not take orders. If you want a waffle made in a commercial kitchen, you want a restaurant, not this page.
What it does do is give you a tested baseline, a set of variables you can change on purpose, and notes on what each change does. Test Kitchen Notes explains how the recipe was revised and how to read those revisions against your own kitchen.
Tested at home
Baseline ratio: 2 cups flour / 2 tbsp sugar / 1 tbsp baking powder / 1/2 tsp salt / 2 eggs / 1 3/4 cups milk / 6 tbsp melted butter.
Reference iron plates: 375 – 400 degrees Fahrenheit.
Every note on this site was revised against batches cooked in a home kitchen.