Hailey Rykwalder

Hailey Rykwalder

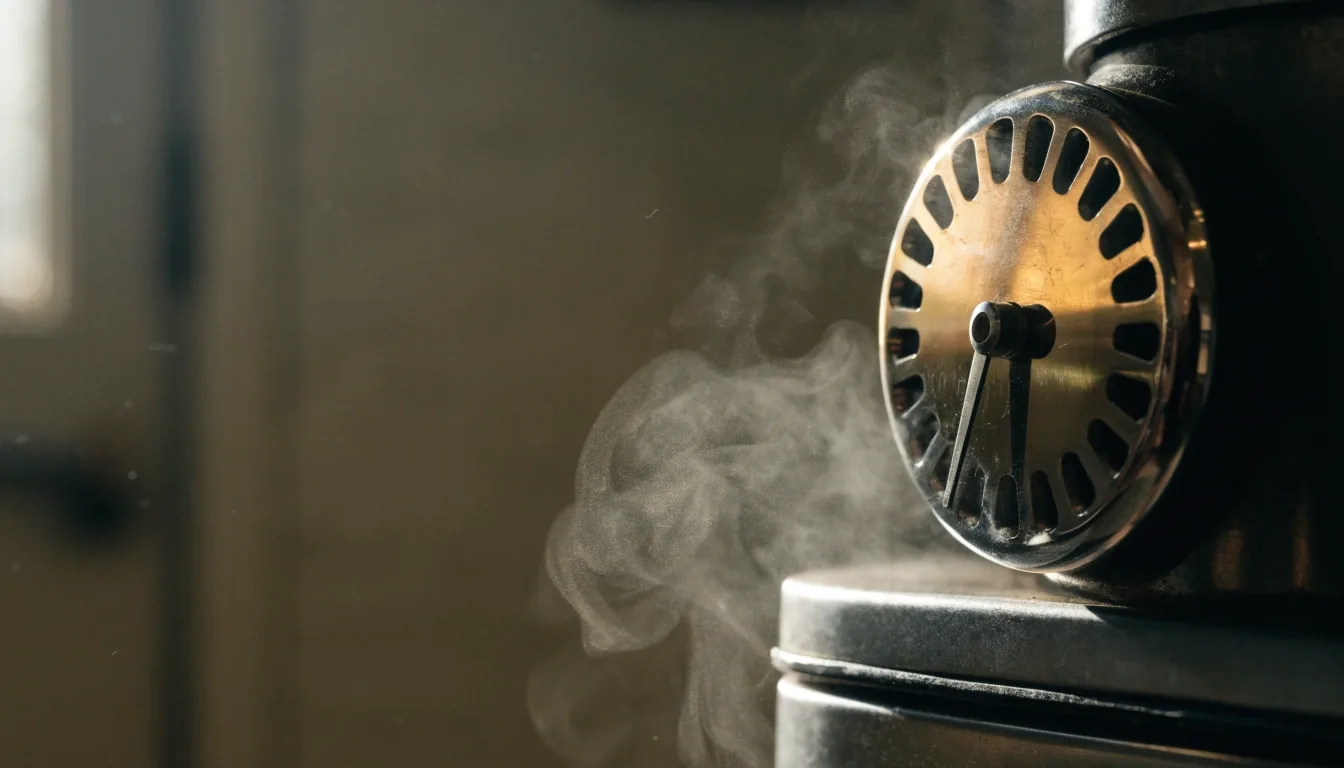
A waffle iron cooking on a steel counter with steam lifting from the seam and the browning dial resting in view

THE CRISP CRUST, EXPLAINED

Heat and Rest: The Two Levers Behind a Crisp Crust

Mix it tonight. Crisp by morning. A diner-style waffle iron gives you two things to control. Everything on this page is a variation on them.

THE WORKING STEPS

Open each row to read the note

Five steps that separate a pale waffle from a crisp one

01
Preheat past the light Most home irons signal a plate temperature, not a readiness check. Give it two to three more minutes after the light goes off.

When a drop of water flicked onto the grid sizzles and disappears, you are there. A cold or lukewarm iron lets the batter sit and spread before the crust sets, and a flat, pale waffle steams in its own moisture. The batter is fine. The iron was not ready.

If you are working toward a browned, crisp exterior on classic batter proportions, do not skip this pause. The extra two minutes is what separates a waffle that browns evenly from one that looks boiled.

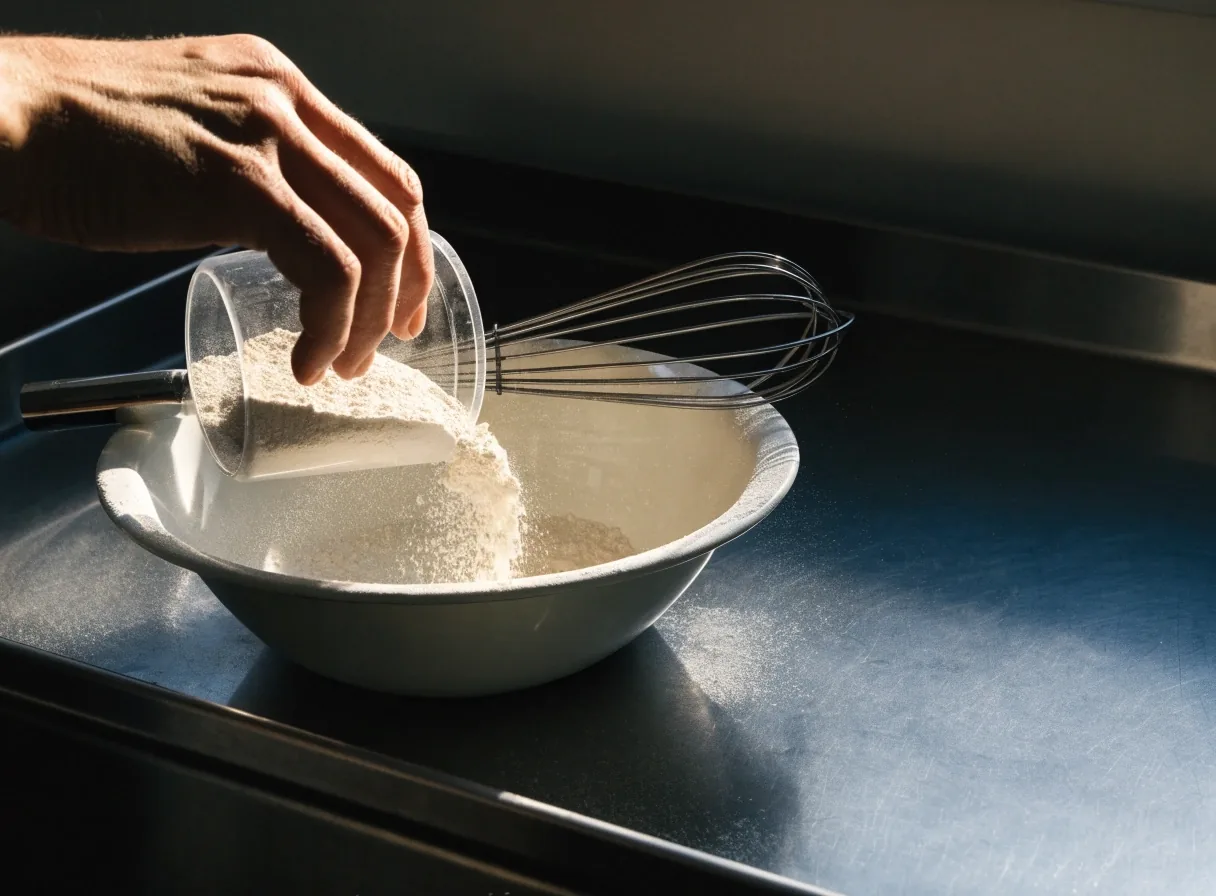
A cook's hand tipping flour into a pale enamel bowl on the griddle surface with a whisk at the rim
Weigh dry, pour wet. The bristles do the folding.
02
Why the first waffle is usually the worst The plates have not fully equalized, and no residual heat has built up in the housing yet.

If you are testing a new batter, judge it by the second waffle, not the first. Some cooks sacrifice a small ladle of batter to season and heat the grid before the real batch starts. There is no need to waste a full waffle. Just know that waffle number one is a warm-up.

03
The steam signal, and the thirty extra seconds When the steam slows to a trickle, the interior has largely finished setting. Wait a half minute longer.

Waffles cook by steam. The batter hits the hot grid, water turns to vapor, and the vapor pushes the batter up against both plates while the outside sets into a crust. That is the moment most people open the lid. Wait thirty seconds longer. That half-minute is where the exterior goes from pale gold to properly browned, and the extra browning is what keeps the crust crisp once it leaves the iron.

04
Rest the finished waffle on a rack This is the single most common reason a crisp waffle goes soft — the plate traps steam underneath it.

Within a minute the bottom of a plated waffle is limp. Set it on a wire cooling rack instead. Air circulates under it, the crust finishes drying, and it stays crisp for several minutes even before it hits the table.

05
Do not stack, especially in a warm oven A single layer on a rack holds for about twenty minutes. Piled on a sheet pan, they go soft in five.

Stacking is fine if you are eating immediately, since the waffles are going to be covered in syrup anyway. If you are holding a batch for later, stacking is what ruins them. If you must stack, put a sheet of parchment between each waffle and keep the stack shallow — two layers at most.

CARRIED FROM THE CLASSIC PAGE

The two levers, and where the batter starts

A crisp waffle is not a matter of luck or a special ingredient. It comes down to two things you control: how much heat the batter meets, and whether steam can escape the finished waffle. Everything on this page is a variation on those two levers. If your waffles come out soft, one of them is off.

Two cup batch, six tablespoons of fa, two tablespoons of sugar. That is the baseline the ratios below are built on — a homemade waffle batter with enough fa for a golden brown surface and enough sugar to take color evenly across the grid.

Start with the Classic Batter

WHAT MOVES WHICH WAY

Heat, up
Faster set, darker crust, more brittle bite. Overshoot and the sugar scorches before the middle cooks.
Heat, down
Batter sits and spreads before the shell forms. Pale, flat, steams in place.
Steam, trapped
Soften the crust from the inside out. This is what a plated waffle does to itself.
Steam, released
Crust finishes drying on the rack. Stays crisp through the walk from kitchen to table.

READ THE COLOR OF THE GRID

Three stages, and what each one does to the crust

Watch the color the surface takes across the grid, not the clock. A waffle is telling you where it is at any point in the cook — pale, even gold, or past the point of no return.

PALE

Steamed in place

Pulled too early or cooked on a lukewarm iron. The outside never set before the steam broke through, so the bite is soft all the way across. This is the version that tastes fine and reads as a failure — the crust was never given a chance to form.

Fix in the iron, not the batter

EVEN GOLD

What you are aiming at

A browned shell over a light, airy interior. The pale-gold stage is where a waffle has structure but no crispness — the surface has set, the interior is still soft, and a thirty-second wait turns this into the one you want.

Hold thirty seconds past the steam

DEEP

Past crisp

Dark brown all the way to the grid lines, dry to the touch. Sugar has started to bite and the interior has begun to set firm. Edible, but you have traded the fluffy middle for a shell.

Drop the dial a notch next time

THE REST THAT SETS THE CRUST

Cooling rack, single layer, no lid.

The thirty seconds you spent past the steam signal only pays off if the waffle gets a chance to finish drying. Air moving under it is what does that. Air trapped under it puts the moisture back where it came from.

A 200-degree oven with waffles in a single layer on a rack will hold them for about twenty minutes. If you want a batch ready for the table at once, move finished waffles to the rack in the oven as they come off. Do not add a foil tent, and do not close the door on a sheet pan of stacked waffles.

  • ▪Single layer
  • ▪Rack, not plate
  • ▪Twenty minutes, no more
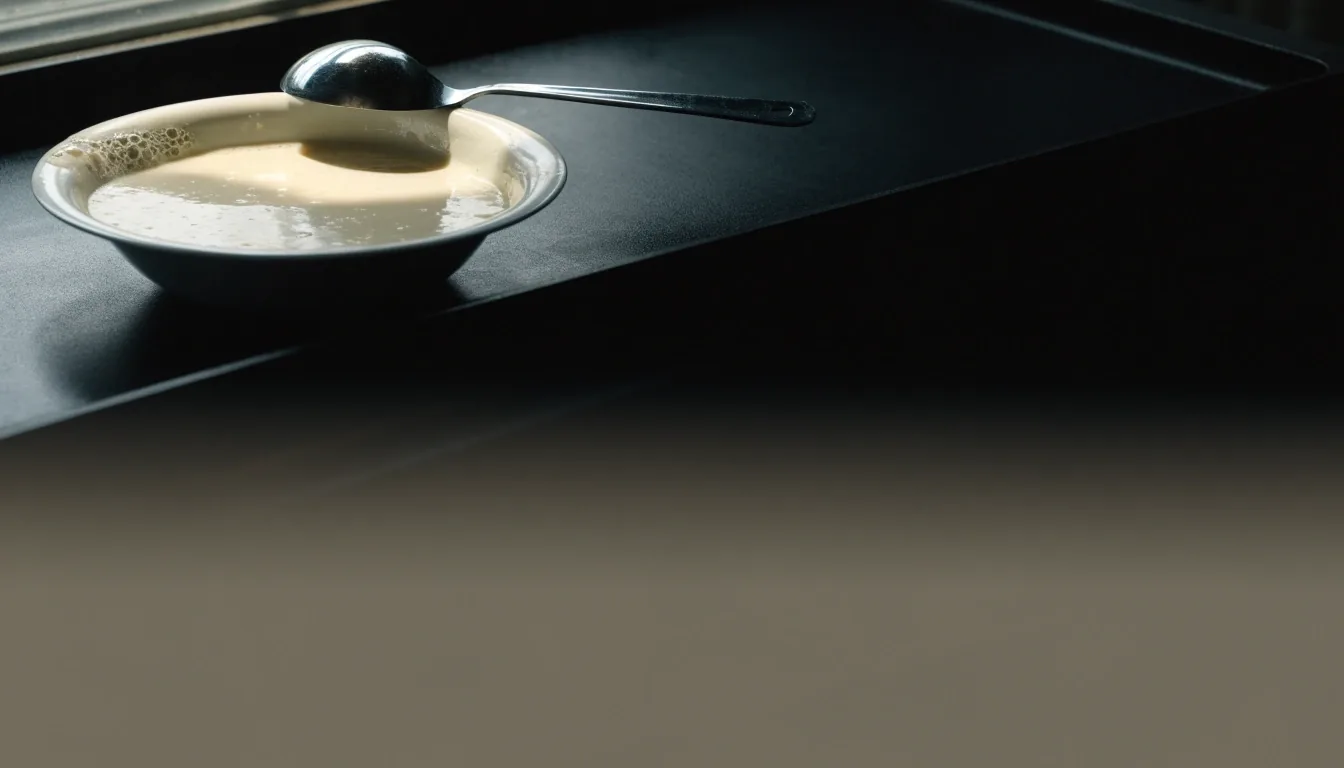
A pale enamel bowl of rested batter on the cold end of the griddle with a ladle across its rim
Resting batter settles. Give it a stir before the first pour.

TUNING THE LAST TWO

Fat, sugar, and what the surface is doing

Heat and rest are the levers. Fat and sugar are the two dials inside them. Both change how fast the surface takes color, and both change what that color feels like when you break the waffle open.

Fat choice and browning

Butter browns faster than neutral oil and adds flavor. Oil produces a slightly more even crust and does not burn as readily at high iron temperatures. Both work, and the recipes on this site use either — the difference is small. What matters more is the total fa in the batter. Six tablespoons for a two-cup batch is the baseline. Less fa gives a drier, harder crust that browns fast and can taste almost cracker-like. More fa softens the crust, which runs against what you are trying to do here.

Sugar, acid, and surface color

Sugar in the batter is what makes the surface take on that even golden brown. Two tablespoons does it. Acidic dairy does something similar: the yogurt and buttermilk versions brown more readily than a plain milk batter, partly from the acid and partly from the extra body they add. If your waffles come out consistently pale even at high heat, the batter is the place to look, not the iron. Add a teaspoon more sugar, or swap in half buttermilk.

SOMETHING IS OFF

Thin batter, sticking, gummy centres — these are the failures that read as a bad recipe when it is usually a bad pour or an uneven iron. If your crust will not brown no matter what you do, the batter and the grid are the two places to check first.

Fix a problem in Troubleshooting

AT THE TABLE

Holding crispness at the table

Serve on a warm plate, not a cold one, and do not add syrup until the waffle is in front of the person eating it. Syrup poured over a plate of waffles sitting under a light will soften every one of them within a couple of minutes.

If you are serving a crowd, bring the waffles out one or two at a time as they finish. It sounds fussy. It is the difference between a crisp waffle and a warm one.

AND THE OTHER ERROR

Crispness is not the same as dryness. A waffle can be brittle on the outside and still dry and unappealing in the middle. The goal is a browned shell over a light, airy interior, and the interior only stays light if the batter was not overmixed and the iron did not sit too long.

If your waffles are hard all the way through, the cook time is too long or the batter is too thin. Go back to the Classic Batter page and check the pour.
Start with the Classic Batter

EVERY IRON IS A LITTLE DIFFERENT

Testing your own iron

Every home iron runs at a slightly different real temperature, even at the same dial setting. If your waffles consistently brown unevenly across the grid, that is the iron, not the recipe.

An inexpensive instant-read thermometer held against the plates after preheating will tell you where you stand. Somewhere around 375 to 400 degrees Fahrenheit is the working range. If yours reads well above 400, drop the dial a notch and cook slightly longer. If it reads under 350, the plates are cold enough that your batter will spread before it sets — give it another minute before the first pour.

Once you know where your own dial lands, every note on this page becomes easier to apply. Read everything else against that number, not against the printed dial on the front of the iron.

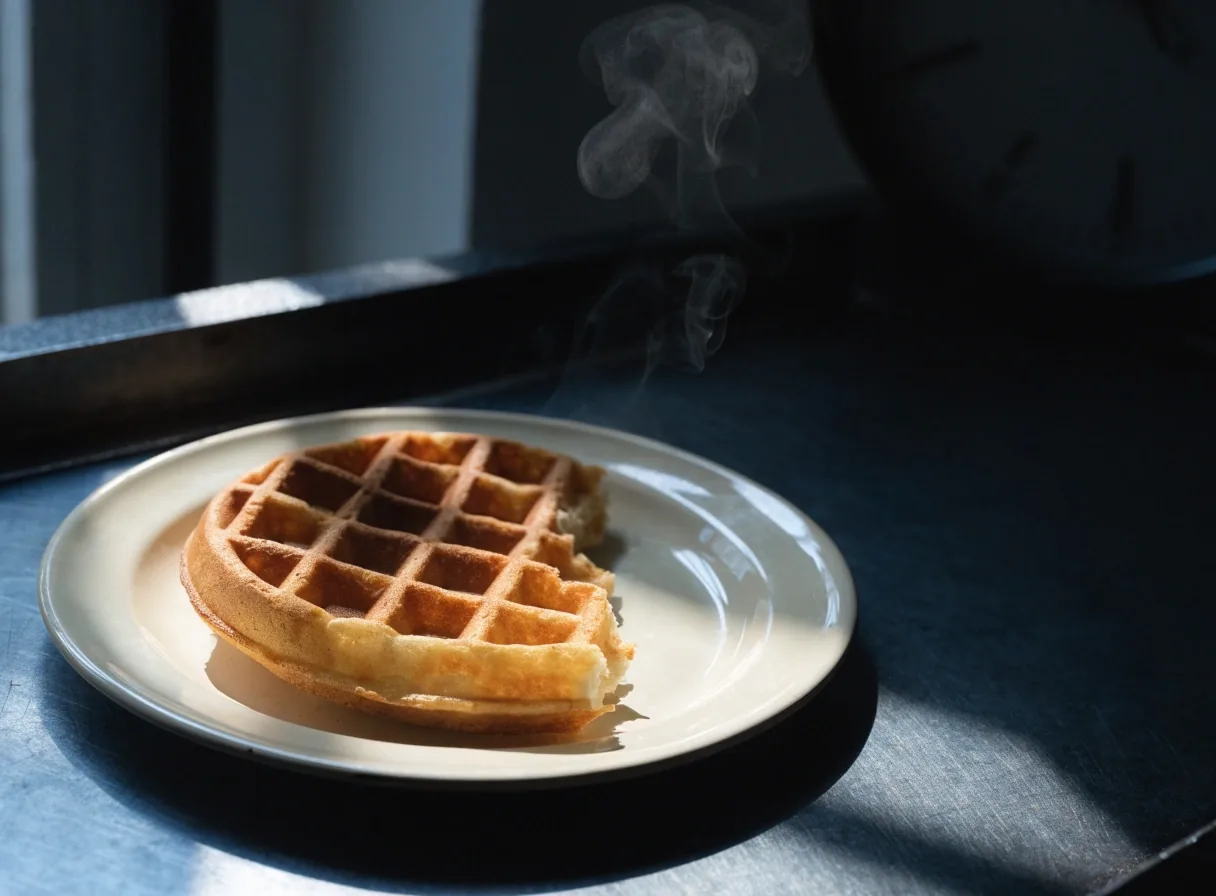
A diner-style waffle torn open on a pale plate with steam rising and the iron dial soft behind it
Browned shell, light interior — the two levers, working together.

THE SPECIMEN

What a crisp waffle actually looks like

A browned, even surface across the grid. A soft, airy interior that still feels light when you break it open. A crust that shatters quietly on the first bite instead of bending. That is the target — heat and rest, in step.

Tonight

Mix the batter and rest it overnight. Nothing else to do until morning.

Tomorrow

Preheat past the light, watch the steam, wait thirty seconds, rest on a rack.

WHERE TO GO FROM HERE

Technique is the middle of the recipe, not the whole of it

This page covers the two levers — heat and rest. If you have not yet settled on a base batter, start with the ratios on the Classic page. If you want the batter ready before the morning, plan an overnight mix. If something is going wrong in the iron, the troubleshooting notes cover the common failures.

Counter notice — 01

This site uses cookies to see which recipes get cooked. Nothing leaves the kitchen. Read the cookie policy